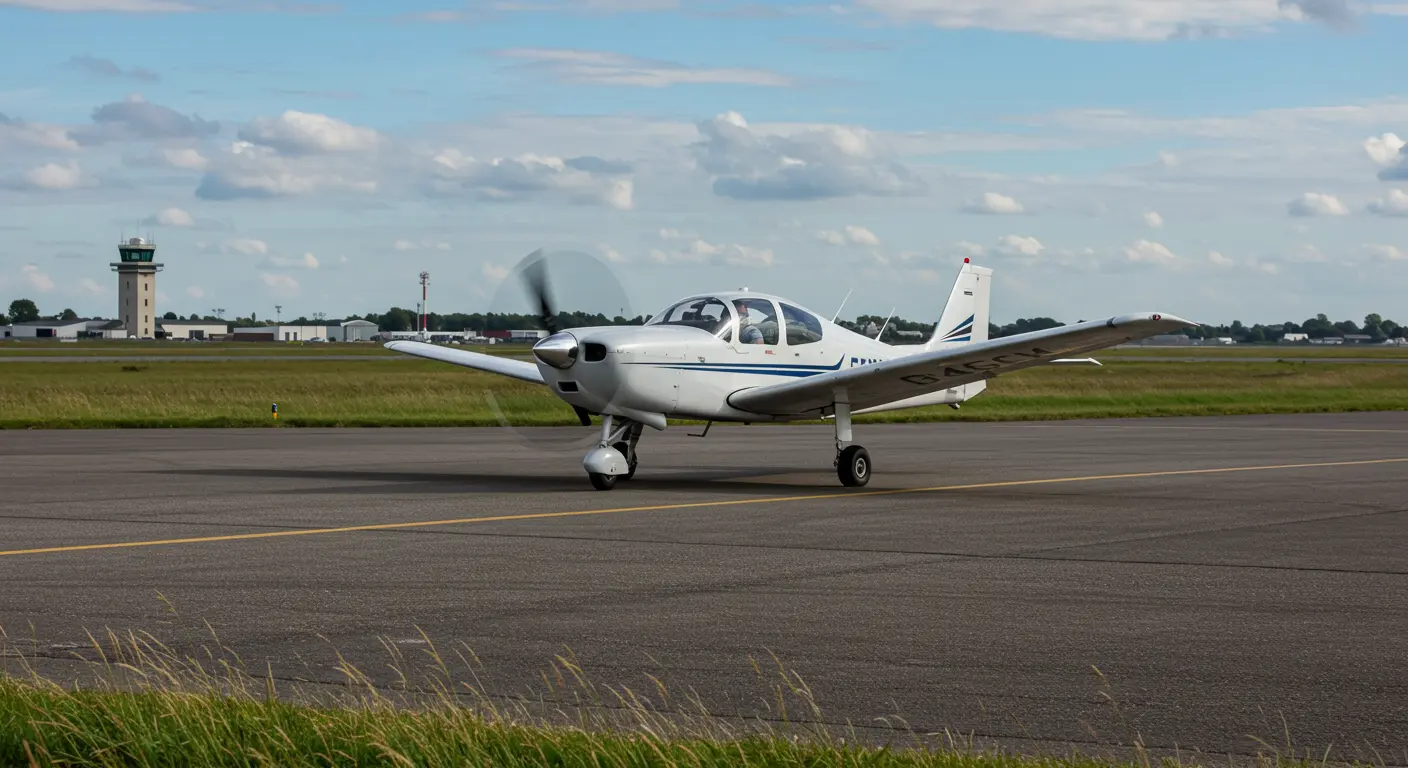
Understanding Crosswinds – What You Need to Know
While a headwind assists takeoff by flowing along the runway’s axis, crosswinds present a different completely different challenge. They blow perpendicular to the runway, creating lateral forces that demand precise aircraft control.
Crosswinds generate lateral forces that push aircraft away from the runway centerline. Pilots counter this with two primary controls: ailerons deflected into the wind to prevent premature wing lift, and rudder inputs to maintain runway alignment.
Understanding wind direction and strength is essential before any crosswind takeoff attempt. This knowledge enables pilots to anticipate drift tendencies and apply precise control inputs throughout the takeoff roll and initial climb.
Calculating the Crosswind Component – Essential Techniques
Before attempting a crosswind takeoff, you must first determine whether current conditions fall within aircraft limitations. This requires calculating the crosswind component—the wind portion acting perpendicular to the runway. Multiple calculation methods exist, from precise mathematical approaches to rapid mental estimations.
Dedicated crosswind component calculators provide the simplest solution. These tools, available on E6B flight computers or smartphone applications, give you precise calculations quickly. However, pilots must also master mental calculation techniques for situations when electronic tools fail.
The “Divide by Ten” method provides a reliable mental calculation technique. For example, with runway 260° and winds from 230° at 15 knots:
-
Take the runway and wind headings, and drop the last digit (Runway 260 → 26, Wind 230 → 23).
-
Find the difference between these numbers (26–23 = 3).
-
Add 2 to this difference (3 + 2 = 5).
-
Divide the total wind speed by 10 (15 knots / 10 = 1.5).
-
Multiply the results from step 3 and step 4 to get the crosswind component (5 × 1.5 = 7.5 knots).
Alternatively, a crosswind component chart can be used: find the intersection of the wind angle and wind speed, then read the corresponding component value.
Calculating the crosswind component accurately is essential for safe operations. Regardless of your chosen method, ensure you stay within your aircraft’s demonstrated crosswind capability.
Crosswind Takeoff Procedures – Step-by-Step Guide
A safe crosswind takeoff requires thorough preparation and sound decision-making. Before engine start, evaluate whether crosswind conditions fall within both your personal limits and aircraft capabilities. Consider alternate runways that might offer more favorable conditions.
Once you’ve confirmed safe takeoff conditions, follow the crosswind procedure carefully. Begin with proper runway centerline positioning and appropriate control inputs from the takeoff roll’s very start. The objective is to Maintain directional control throughout while compensating for crosswind effects.
The crosswind takeoff procedure has three distinct phases:
-
Initial Takeoff Roll
-
Liftoff
-
Initial Climb
Initial Takeoff Roll – Key Techniques
Start the takeoff roll with full aileron deflected into the wind—stick left for left crosswinds—preventing premature upwind wing lift.
Apply smooth power while using rudder to maintain centerline position, counteracting the aircraft’s natural weathering tendency.
Gradually reduce aileron input as airspeed builds, achieving near-neutral position by rotation speed. This progressive reduction prevents sudden roll moments at liftoff.
Focus your scan far down the runway to detect and correct drift early. Avoid the overcontrolling trap that results from watching the ground immediately ahead.
Liftoff – Timing and Technique
At rotation speed, lift the nose wheel while keeping aileron input into the wind, preventing upwind wing rise.
Let the aircraft fly off naturally, with the upwind main gear lifting last. Forcing premature liftoff invites lateral drift and control loss.
Immediately after liftoff, establish a sideslip: bank into the wind while applying opposite rudder to maintain runway alignment. This prevents lateral drift during the critical transition phase.
Timing is critical at this point. Lift off at proper speed and use smooth, gradual control inputs to maintain stability.
Initial Climb – Managing Crosswinds
Once airborne, maintain the sideslip briefly to prevent drift, then smoothly transition to coordinated flight. Establish a wind correction angle—a crab—to track the extended centerline.
Climbing brings changing conditions: increasing airspeed and potentially shifting winds. Stay prepared to adjust your correction angle for desired ground track maintenance.
Maintain standard climb speed and configuration. Once established at safe altitude—typically 500 feet AGL—proceed with normal departure procedures. Aircraft control remains the top priority.
Common Errors to Avoid During Crosswind Takeoffs
Common crosswind takeoff errors include:
FAQs About Crosswind Takeoffs
Q: What maximum crosswind component can I safely handle?
A: This depends on aircraft limitations, your experience, and current conditions. Most light aircraft demonstrate crosswind components of 12–17 knots, though this isn’t a hard limit. Check your aircraft’s manual and stay within your personal limits and experience level.
Q: Should I use flaps during crosswind takeoffs?
A: Reduced flap settings or no flaps work better for crosswind operations. Flaps increase the lifting surface exposed to crosswinds, potentially complicating directional control. Check your aircraft’s operating handbook for specific guidance.
Q: How much aileron input should I use?
A: The right amount of aileron input stops upwind wing lift without causing downwind drift. Begin with full deflection, reducing as speed increases. Adjust based on aircraft response: add more aileron if the upwind wing lifts; reduce if the aircraft veers downwind despite rudder correction.
Q: What distinguishes a crab from a sideslip in crosswind correction?
A: Crabbing maintains level wings while using rudder to angle the aircraft into the wind, achieving desired ground track. Sideslipping banks into the wind while applying opposite rudder to maintain ground track. During takeoff, use sideslip immediately after liftoff, then transition to crab for climb.
Q: Should I abort if I start drifting on the runway?
A: Abort if you cannot maintain directional control within runway confines. Minor, correctable drift is normal during crosswind operations. Make your go/no-go decision based on your ability to maintain safe aircraft control and remain on suitable surfaces.
Q: How can I safely practice crosswind takeoffs?
A: Practice with a qualified instructor in progressively challenging crosswind conditions. Start with mild crosswinds and advance as skills develop. You can also practice control inputs during taxi operations to build muscle memory for proper control positioning.
